Mastering the sit and stay
Mastering the Sit and Stay
Training your dog to sit and stay is essential for building a strong foundation in obedience. These commands not only ensure your dog's safety but also enhance your bond with them. In this guide, we’ll explore effective techniques for mastering the sit and stay commands.
Why Sit and Stay Are Important
The sit and stay commands are more than just tricks; they are vital for various reasons:
- Safety: Keeping your dog in a sit or stay position can prevent accidents in busy environments.
- Control: These commands help you manage your dog’s behavior in public settings.
- Focus: Training these commands improves your dog’s concentration and responsiveness.
How to Teach the Sit Command
Teaching your dog to sit is usually the first step in obedience training. Here’s a simple method to get started:
- Get the Right Treats: Use small, tasty treats that your dog loves to motivate them.
- Find a Quiet Space: Choose a distraction-free area to help your dog focus.
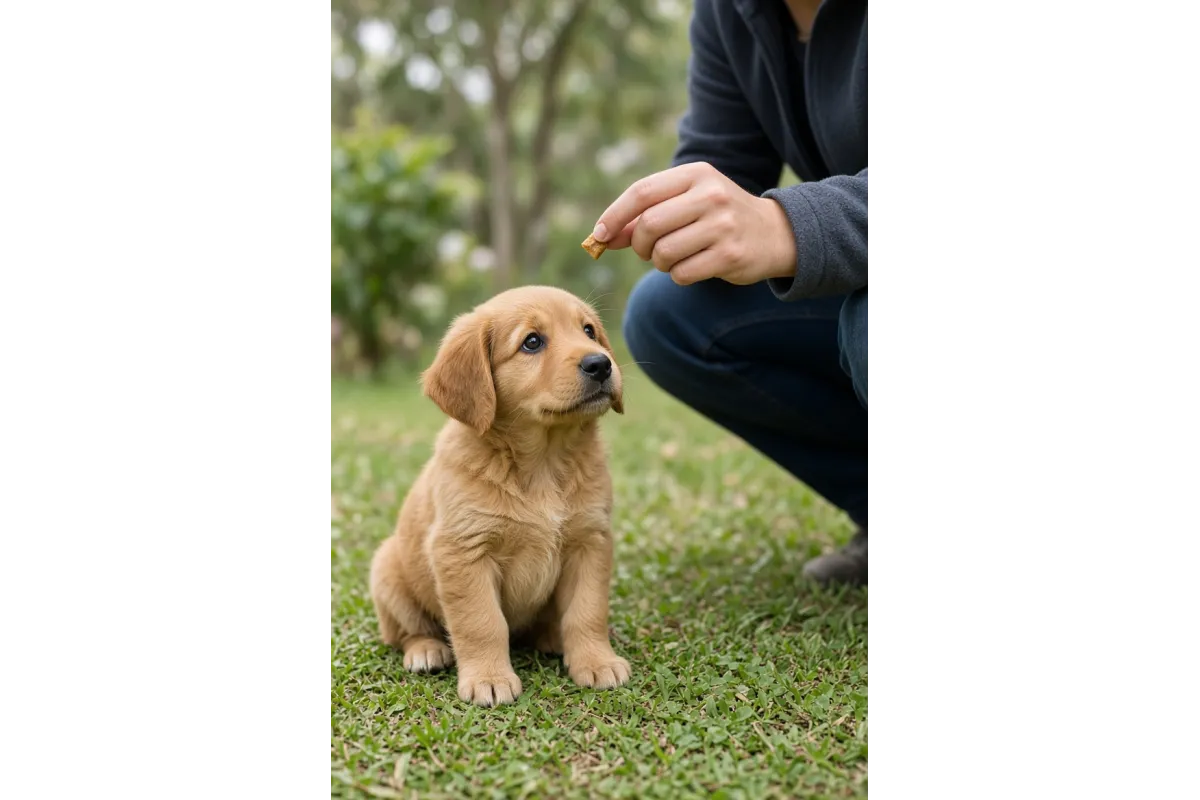
- Use a Lure: Hold a treat close to your dog's nose and slowly move your hand upwards, allowing their head to follow the treat.
- Encourage Sitting: As your dog’s head moves up, their bottom will naturally lower. Once they sit, say “Sit” and give them the treat.
- Repeat: Practice this several times until your dog consistently sits when you give the command.
How to Teach the Stay Command
Once your dog has mastered the sit command, it’s time to teach them to stay:
- Start with Sit: Begin with your dog in the sit position.
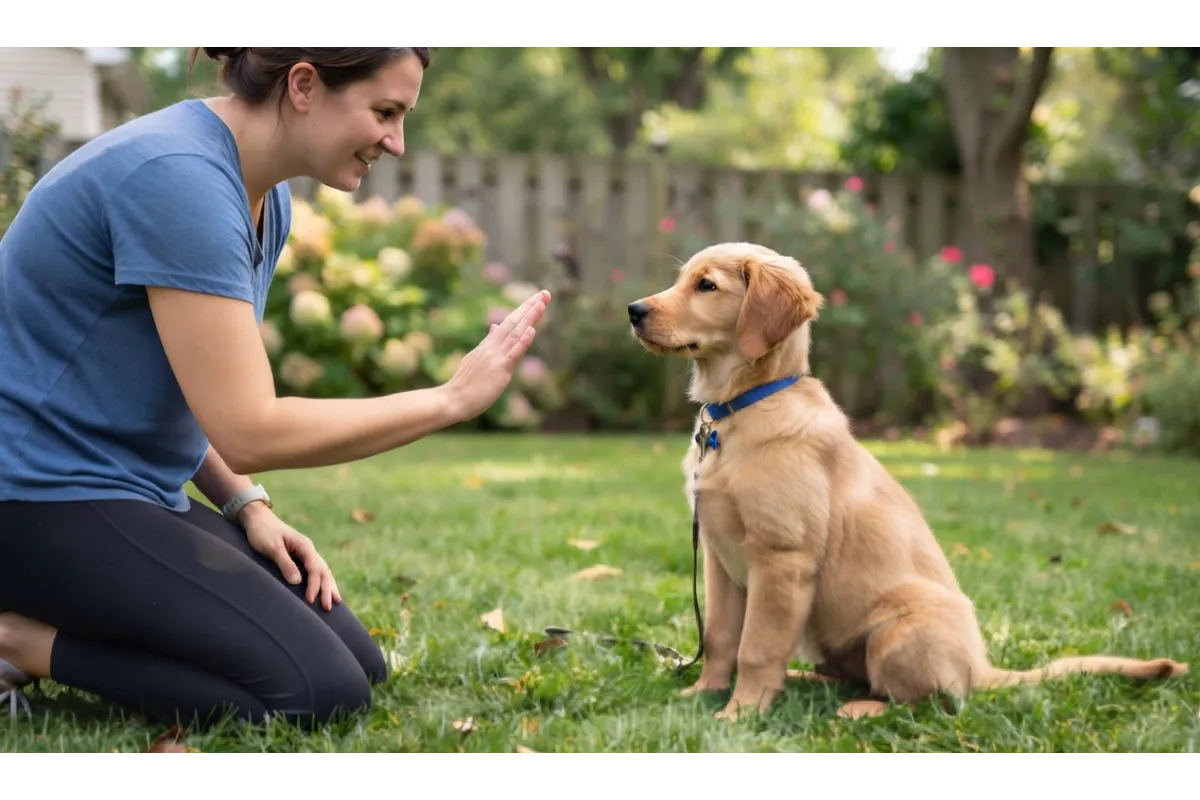
- Introduce the Command: Hold your hand out, palm facing your dog, and say “Stay.”
- Step Back: Take a small step back. If your dog stays, reward them with a treat.
- Increase Distance: Gradually increase the distance and time before returning to your dog for the reward.
- Practice Regularly: Consistent practice is key. Repeat this process until your dog can stay for longer periods.
Common Challenges and Solutions
Training can come with its challenges. Here are some common issues you might face and how to overcome them:
- Distractions: If your dog is easily distracted, practice in a quiet environment before moving to busier areas.
- Impatience: Keep training sessions short and fun to maintain your dog’s interest.
- Inconsistency: Be consistent with commands and rewards to reinforce learning.
Conclusion
Mastering the sit and stay commands is a rewarding experience for both you and your dog. With patience, consistency, and positive reinforcement, your dog will learn these essential commands, enhancing their behavior and your relationship. Start practicing today, and enjoy the journey of training your furry friend!

You may also like